Proper Preparation for a Macro Photography Session

Proper Preparation for a Macro Photography Session
Macro photography is not a very complicated field, as a simple garden can provide hours of enjoyment. However, it requires patience, skill, and creativity. If you want to improve and respect nature, it is important to prepare well in advance. We operate in a wild and sensitive environment, in contact with fragile and skittish animals. Therefore, being careful is very important if you want to approach this with the passion it deserves. Here are some tips from my personal experience and advice I’ve received to maximize the chances of returning with a calm mind and, most importantly, allowing you to capture images that meet your expectations!
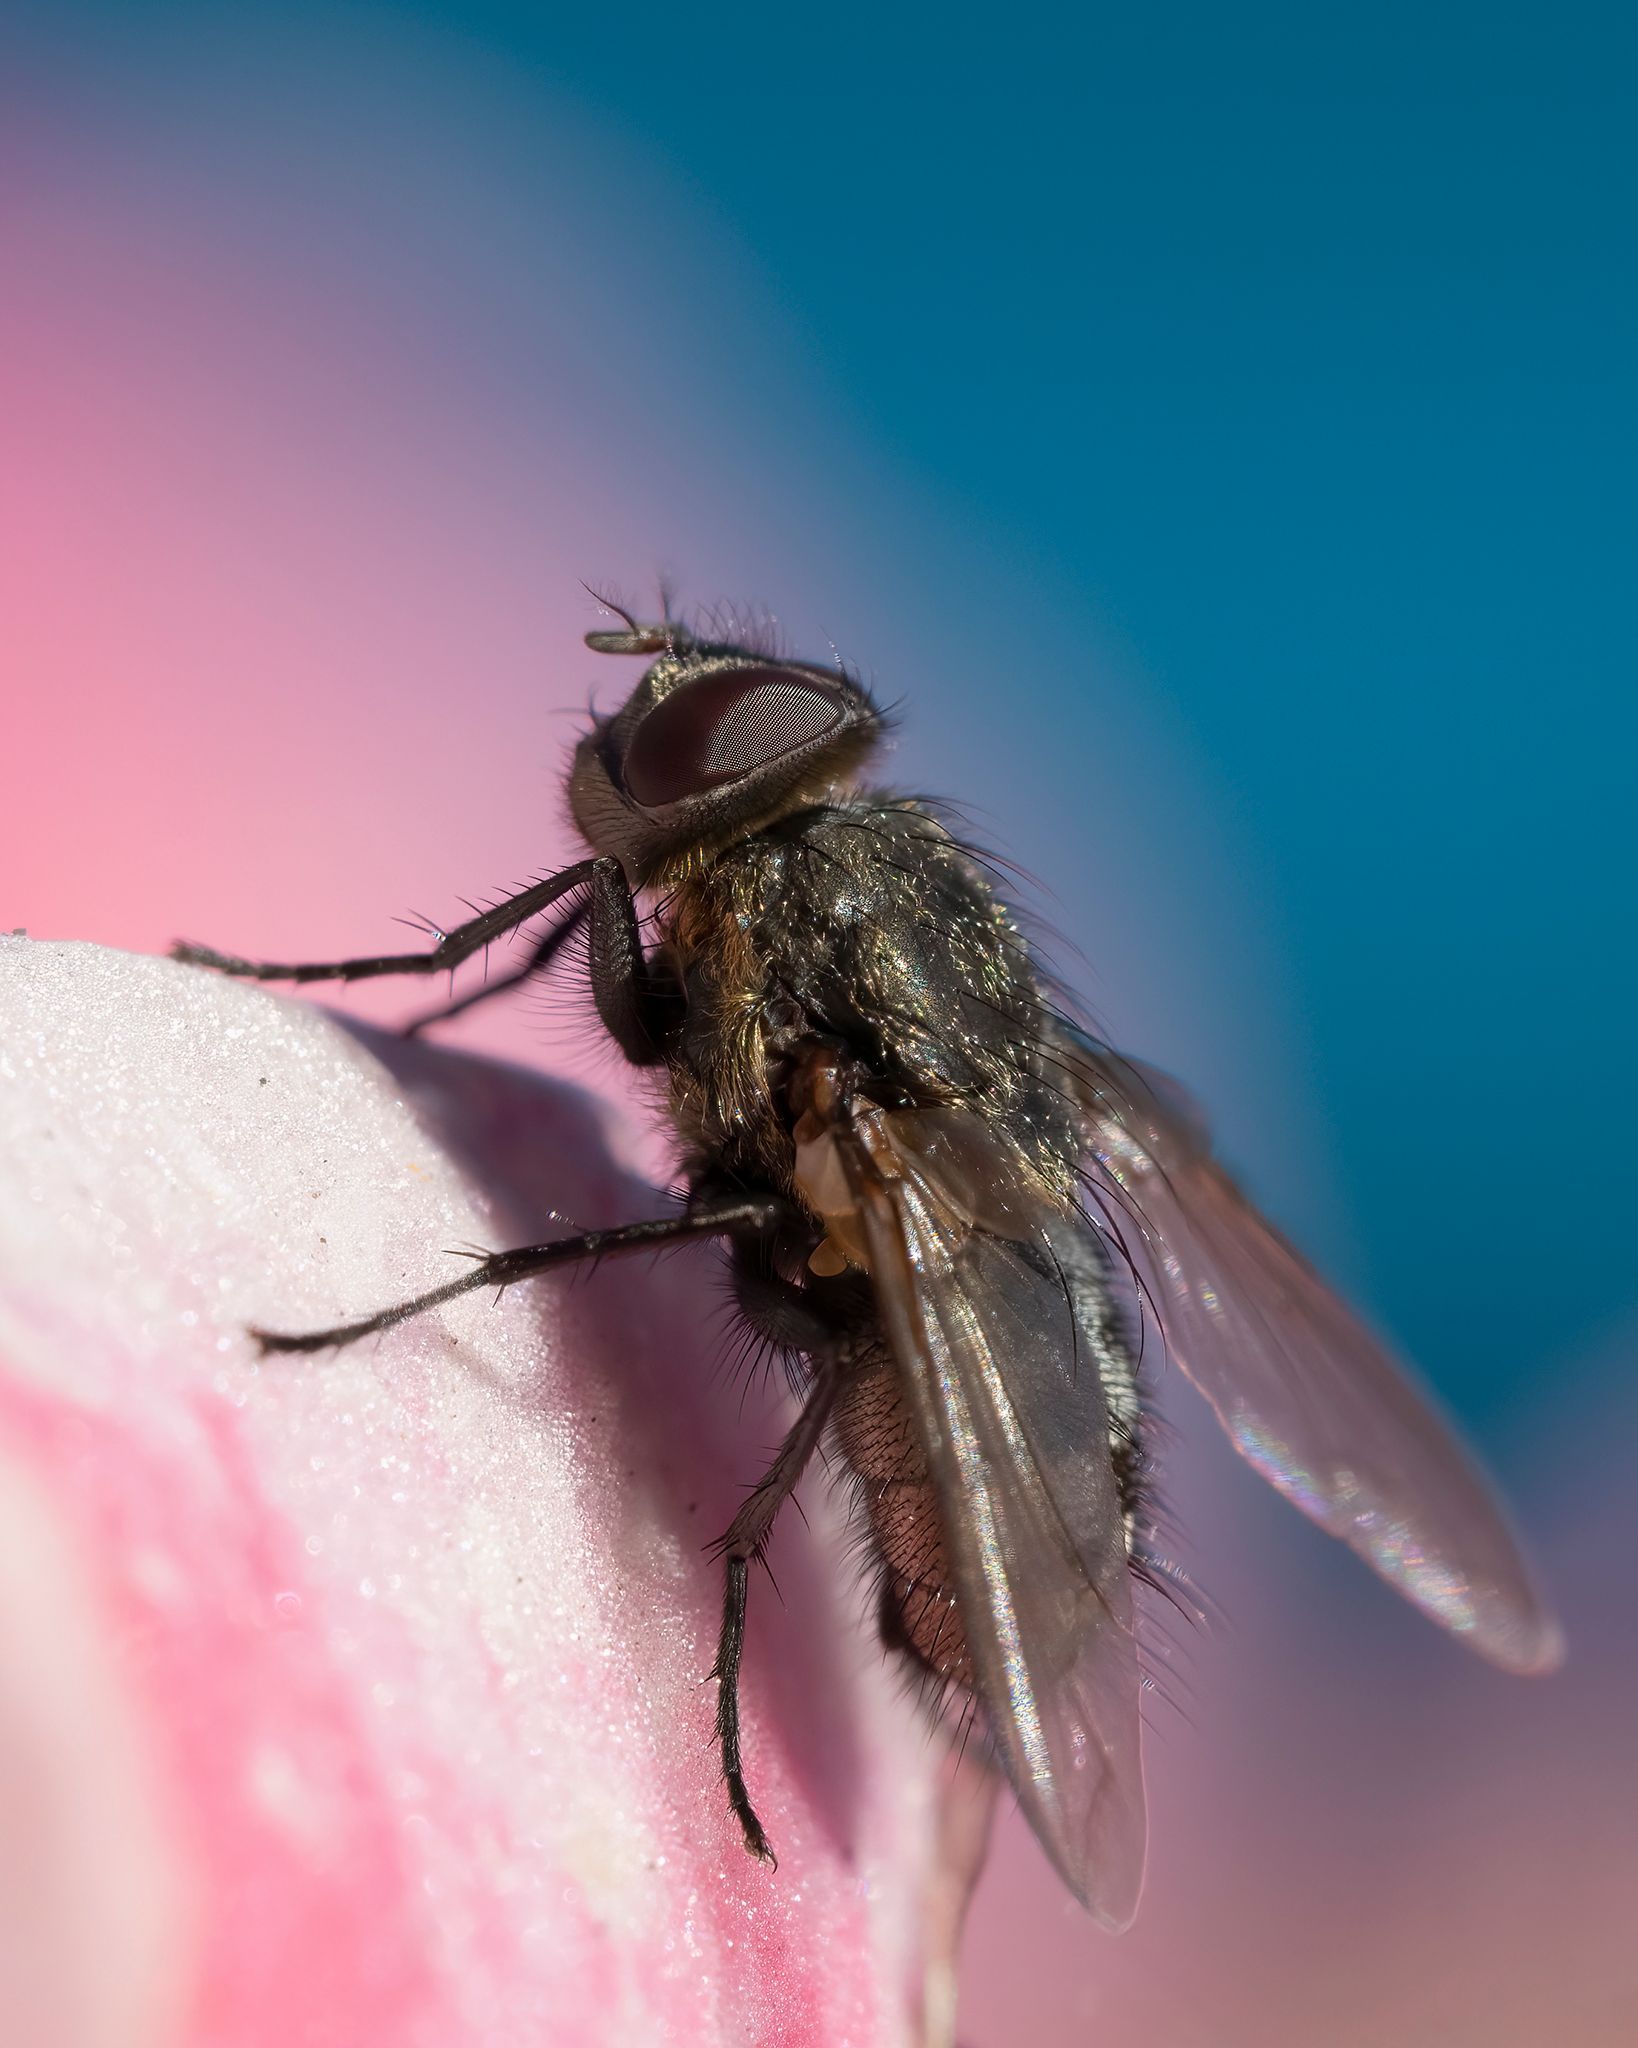
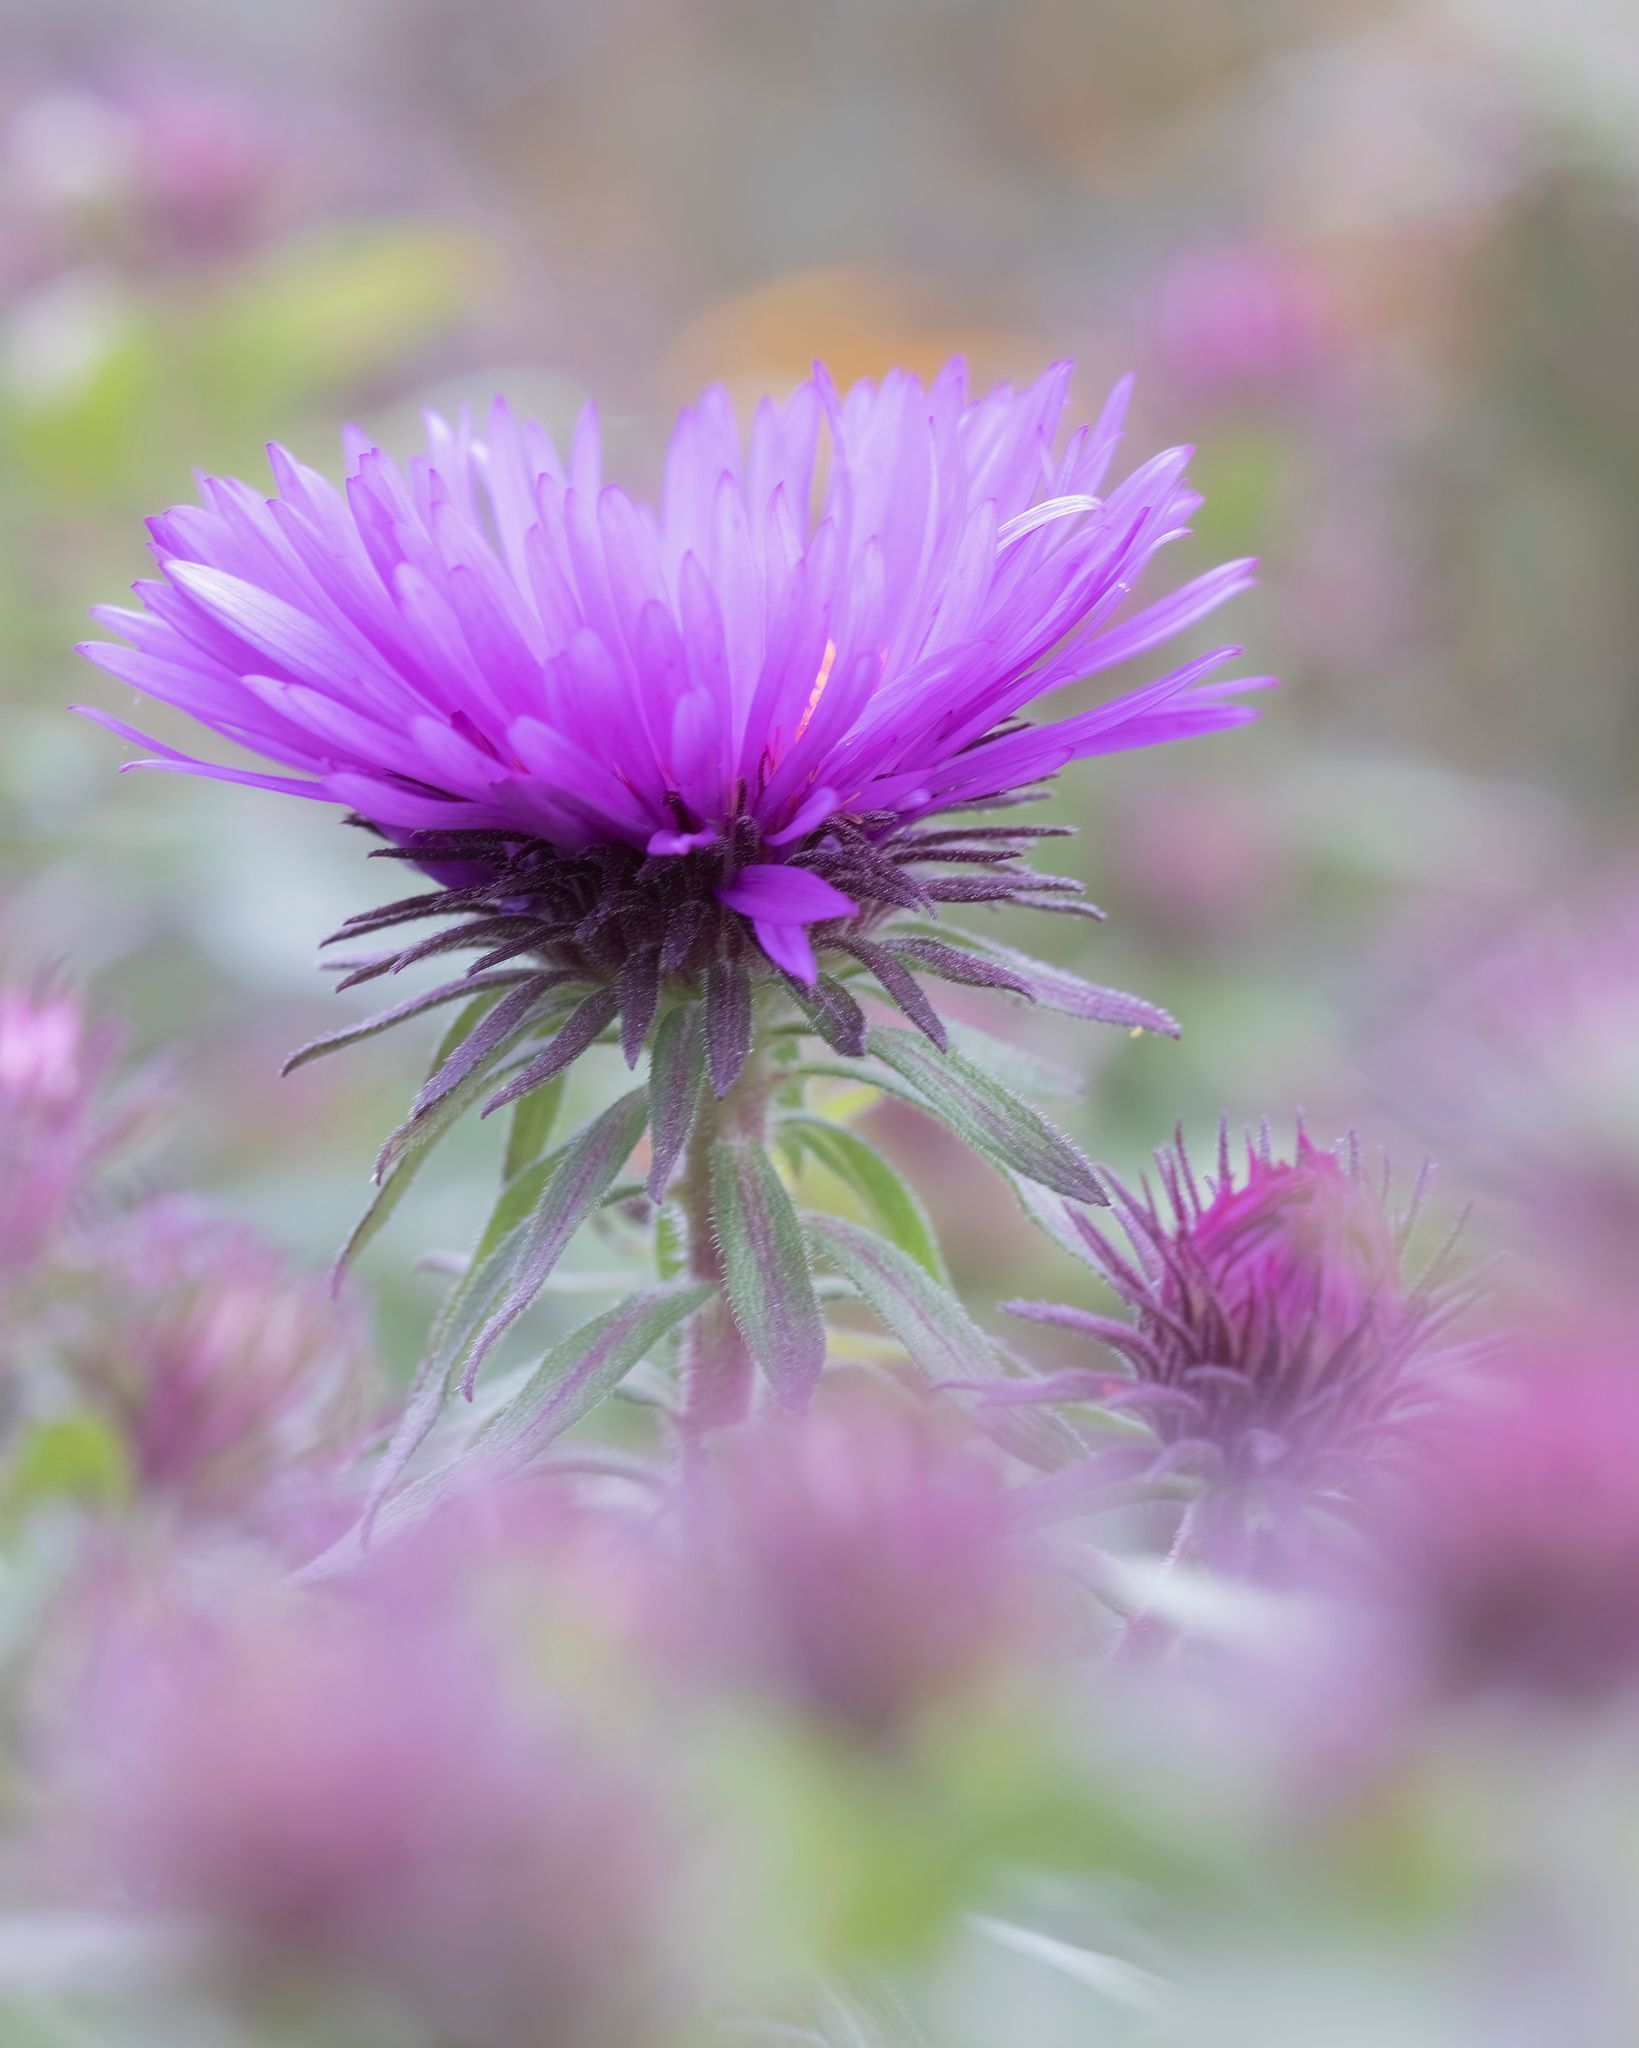
Check the Weather
First, it may seem trivial, but weather is one of the most crucial parameters. I try to plan my outings as much as possible in advance by monitoring the weather for several days. Despite what you might think, photographing in the middle of the day with a beautiful sun is simply the worst thing to do in macro photography! The light is too harsh, creating often undesirable metallic reflections on the shells and hairs of insects, and the contrasts are often too strong—all things we try to avoid. So, prefer overcast days when the light is much softer and more pleasant for the eyes.
However, if you want to fully enjoy sunny days, you can go to the forest in good weather and take advantage of the shade produced by the tree foliage to get the necessary lighting to take beautiful photos.
On the other hand, when I know I can expect bright sunshine the next day, I don’t hesitate to set my alarm very early to take advantage of the beautiful morning light that creates an incredible ambiance.
Another very important factor to consider is the wind. A nightmare for macro photographers. Why? Most insects land on stems and twigs that are completely swayed by the wind, making it impossible to focus, especially since we use manual focus 90% of the time for the precision it offers.
Dress for Macro Photography
This means wearing dark colors (to avoid being noticed and scaring away your subjects), long sleeves, and pants. Believe me, you don't want to end up with hundreds of mosquito bites or countless scratches on your shins within an hour.
Moreover, since we often end up lying on the ground, prefer worn-out clothes that you don't mind damaging. Don’t hesitate to use waterproof clothing or even garbage bags that you can place underneath to protect yourself from ground moisture.
And don’t forget the macro photographer’s worst enemy: the tick.
Watch Out for Shadows
If the working distance is too short, you risk casting shadows on your photos. This can also happen with long lenses, but the greater the working distance, the more room you have to adjust. Use a 100-150mm lens and ensure you have a sufficient working distance to avoid casting shadows. Don’t hesitate to move if you see your shadow in the photo.
Equipment
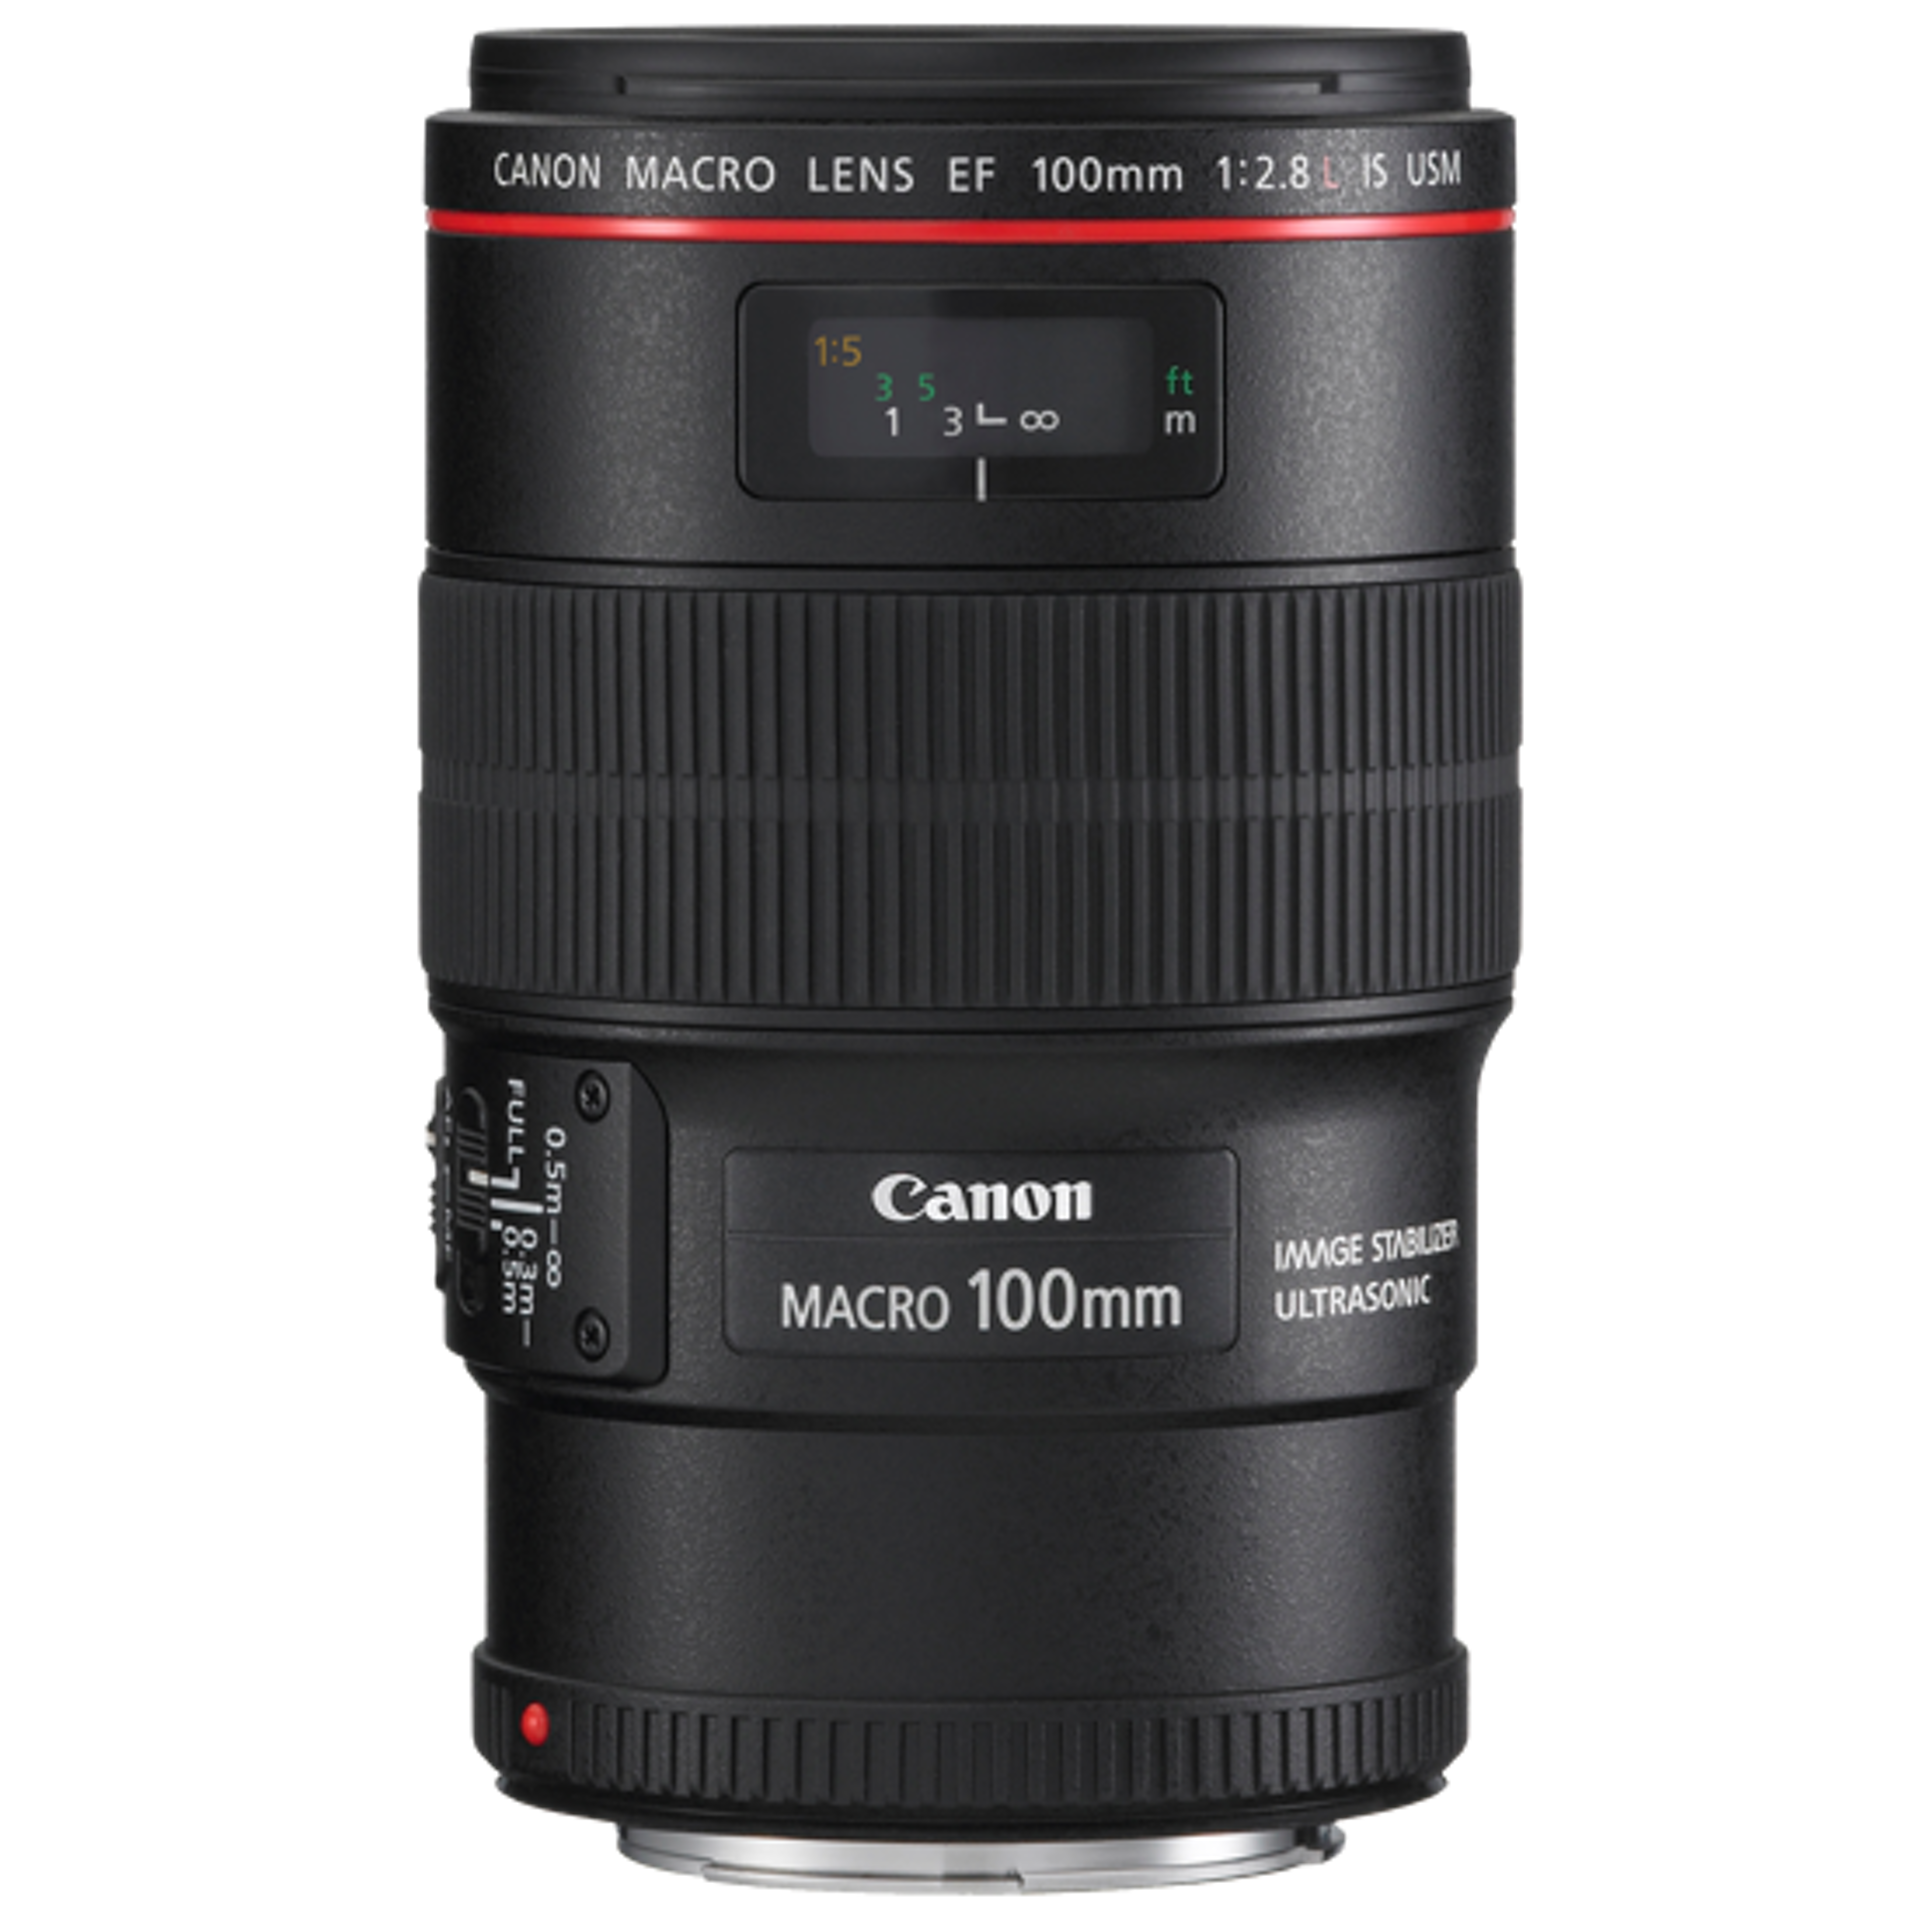
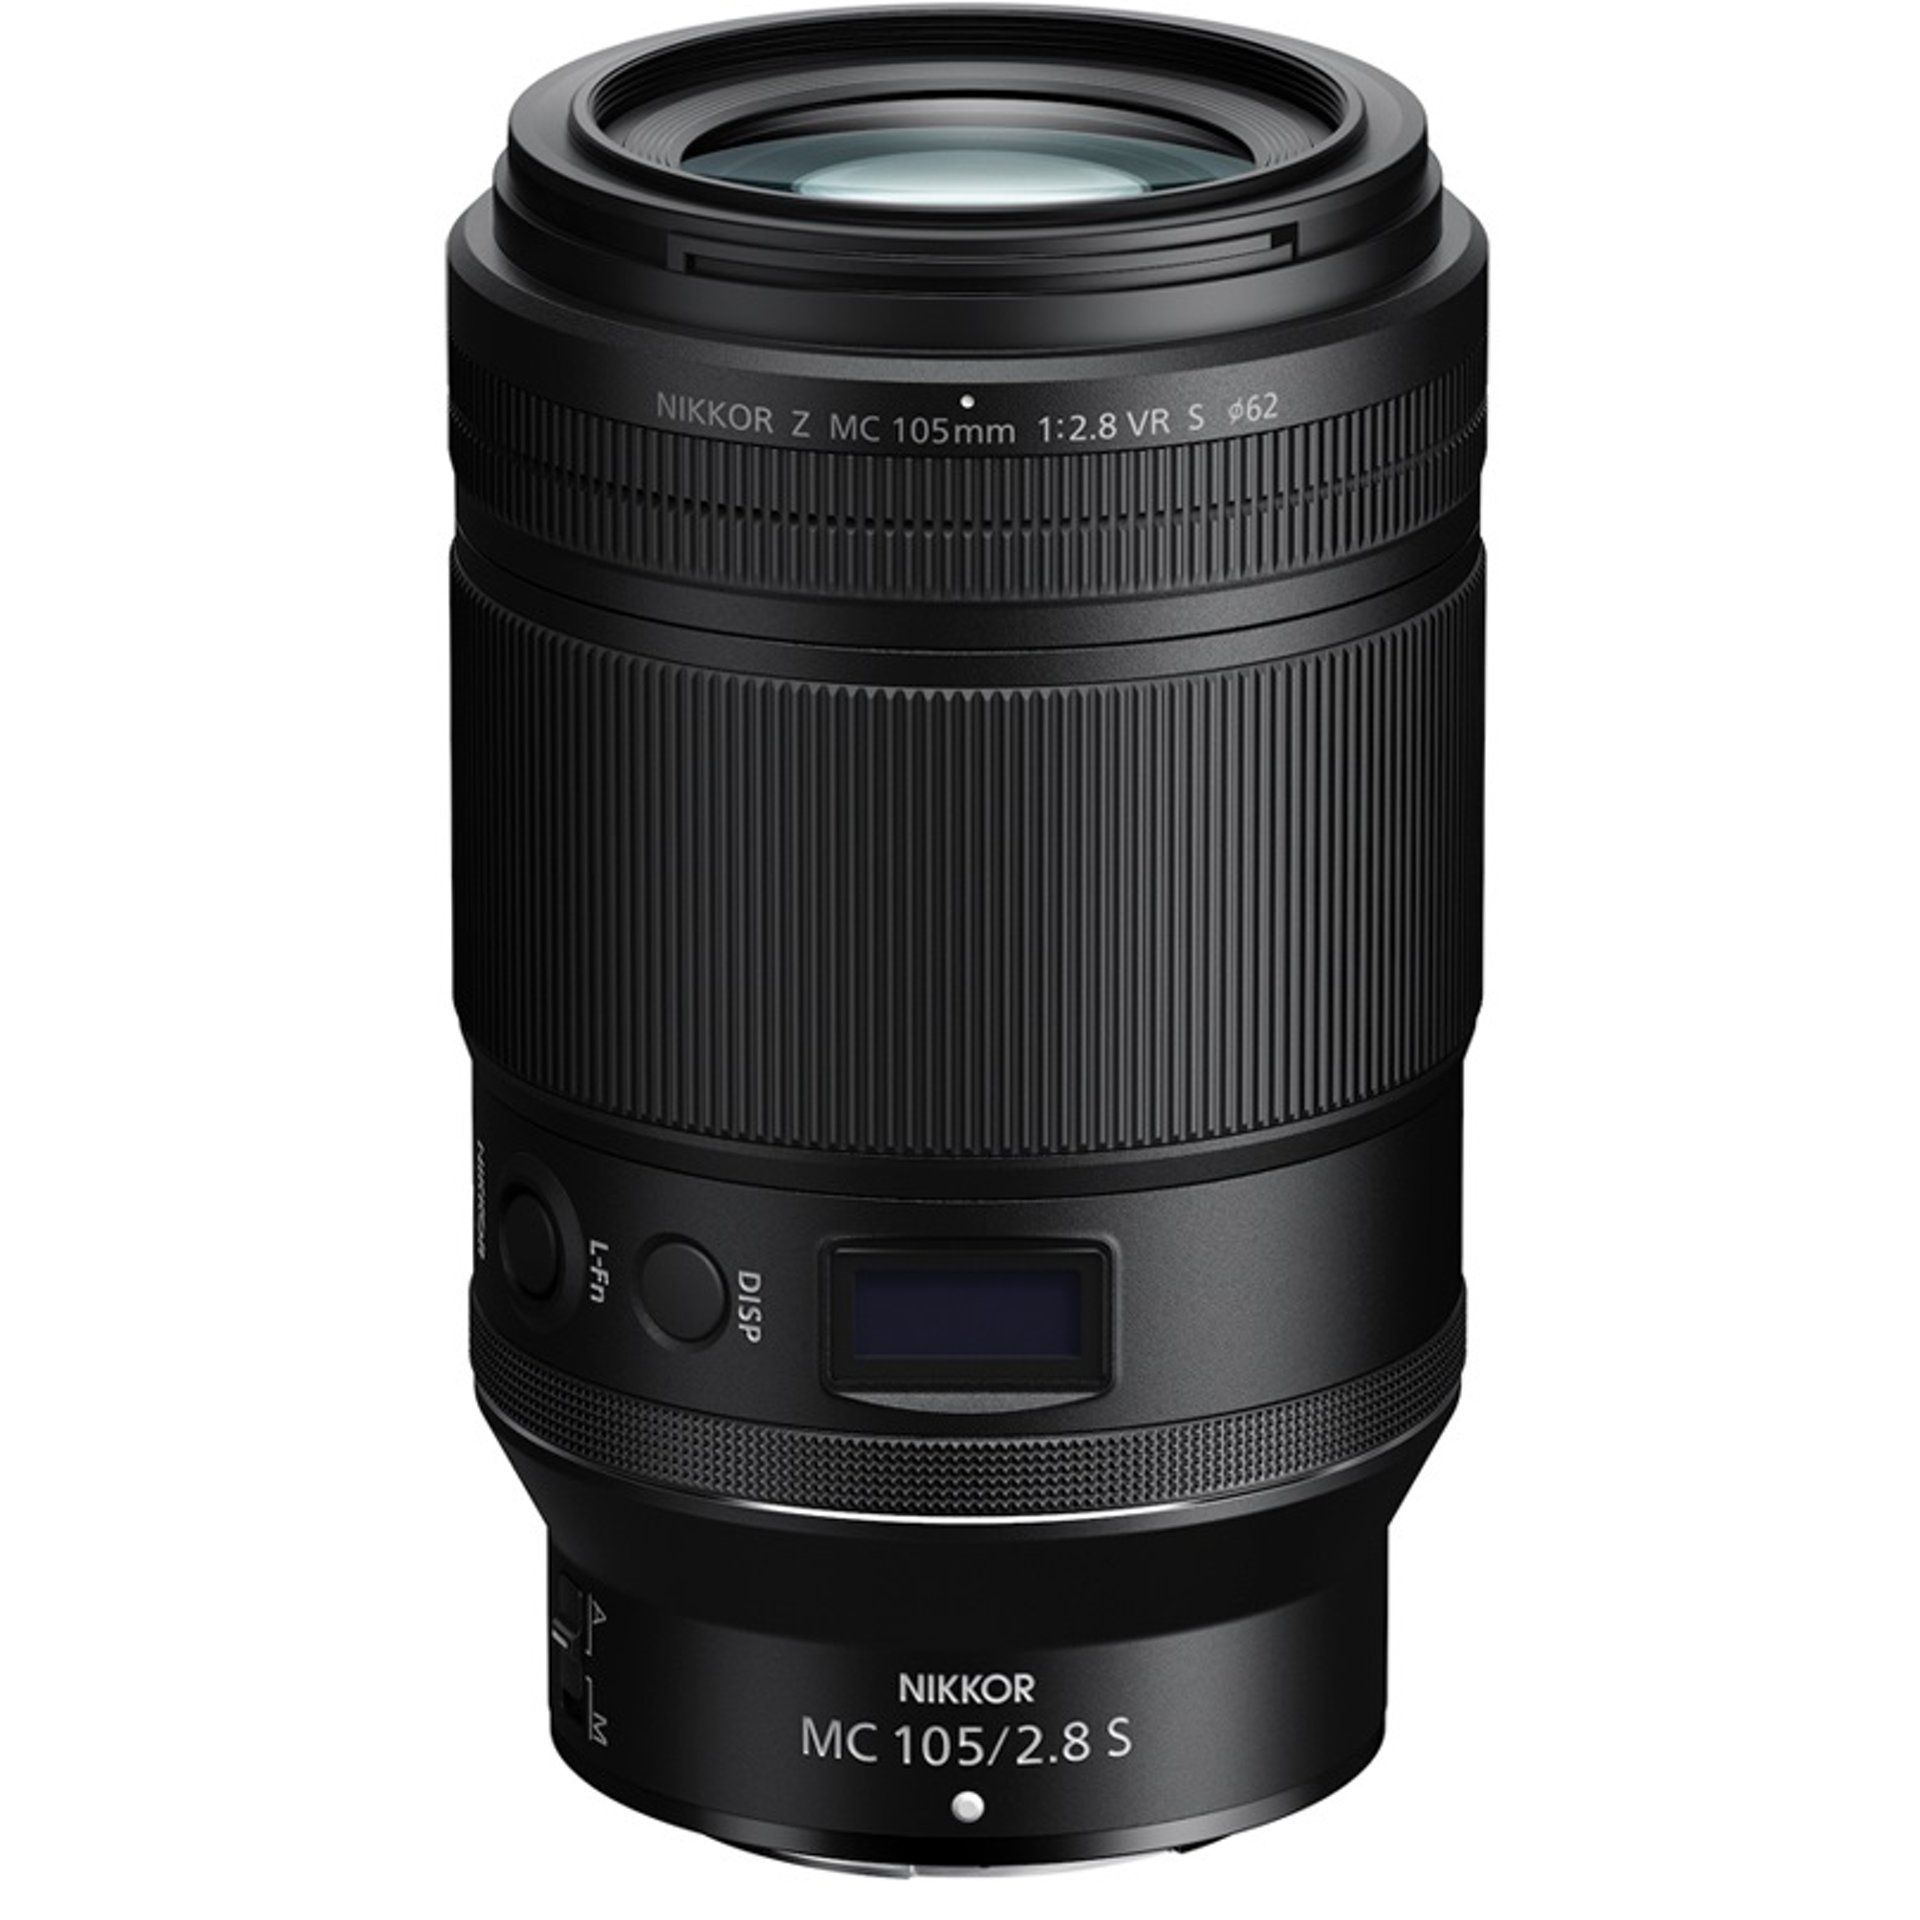
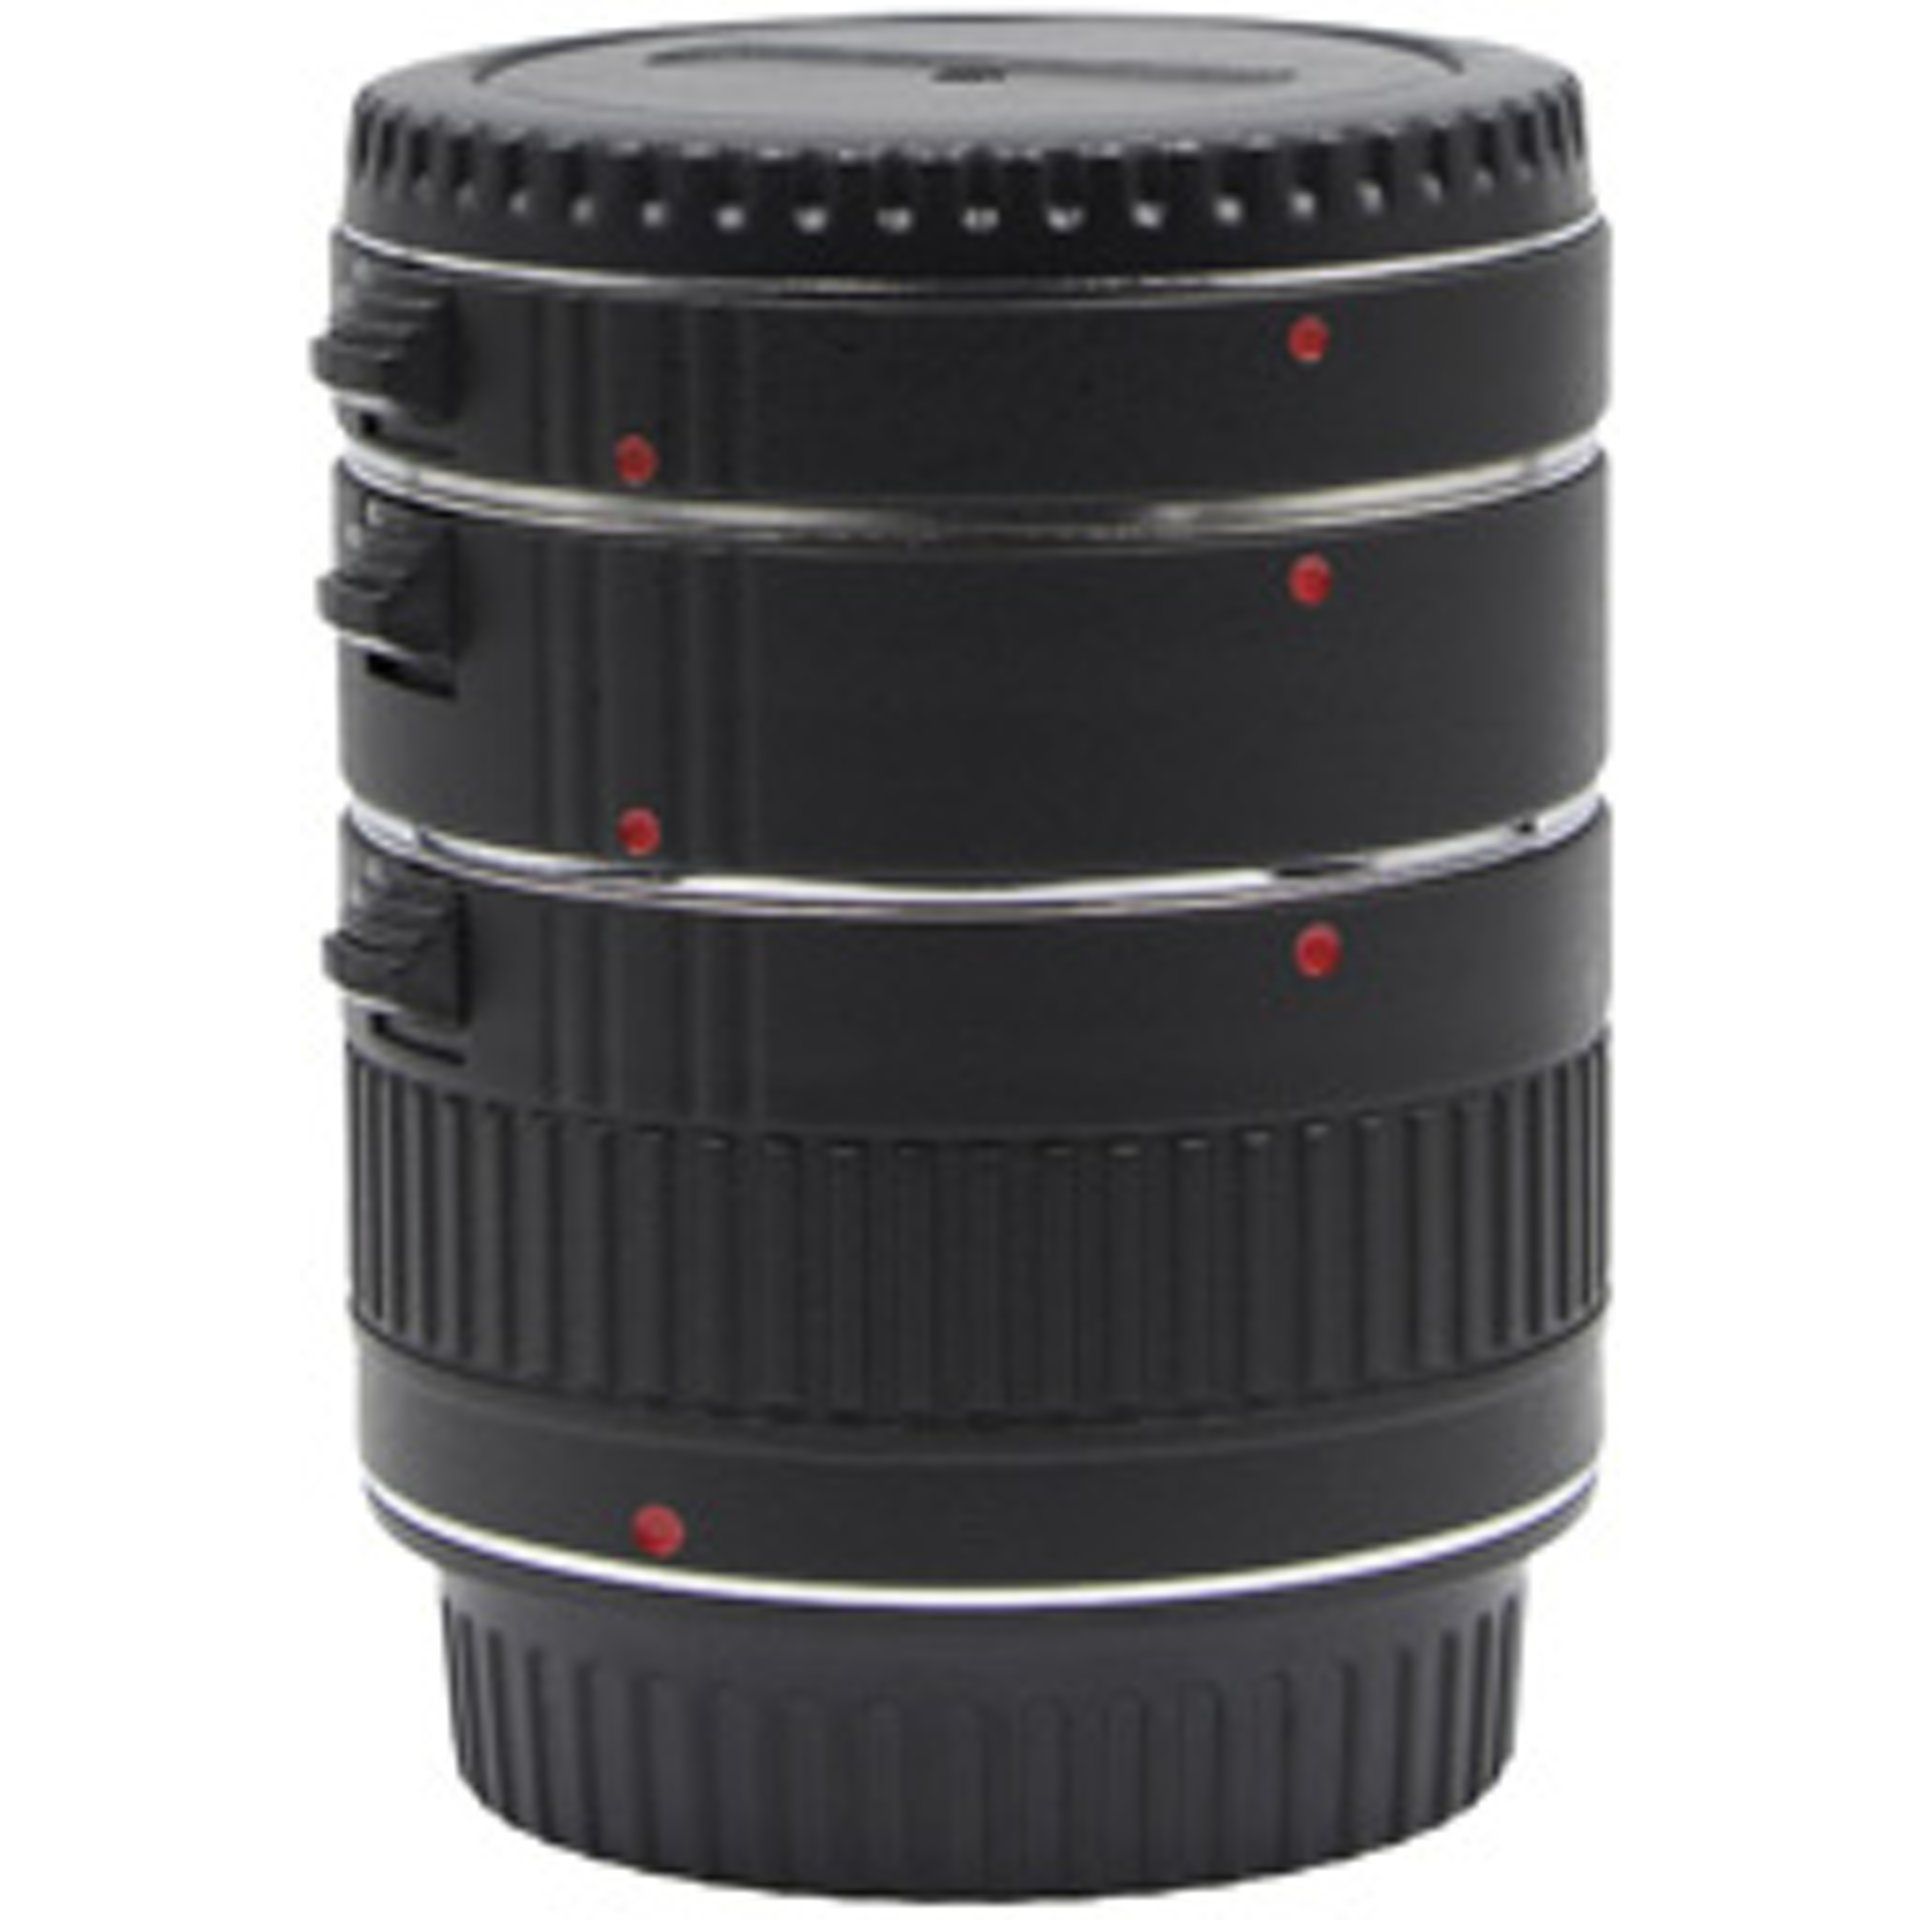
Equipment is important in photography, but not essential. However, practicing macro photography requires a specific lens to fully engage in it. For close-up photography, a lens with a reduced minimum focusing distance often does the job. The most important piece of equipment for macro photography is a good macro lens. A macro lens is specially designed to focus closely on the subject with a 1:1 reproduction ratio (life-size) or greater. The 1:1 reproduction factor means that the subject appears on your sensor at its actual size.
Using a tripod or even a monopod is optional but very useful to provide the photographer with more precision, stability, and sharpness. Personally, I like to shoot handheld. You find your subject and it’s instantly ready to be captured. Its quick deployment can facilitate the approach to shy insects and give you time to take multiple photos. Focusing is very delicate, which can result in many failed shots... Don't get discouraged, it’s perfectly normal, especially when starting out. Using flash can be interesting as it can freeze the subject’s movement or stop the motion caused by the wind, thus increasing the final sharpness of the photo.
Be Precise with Subject Sharpness
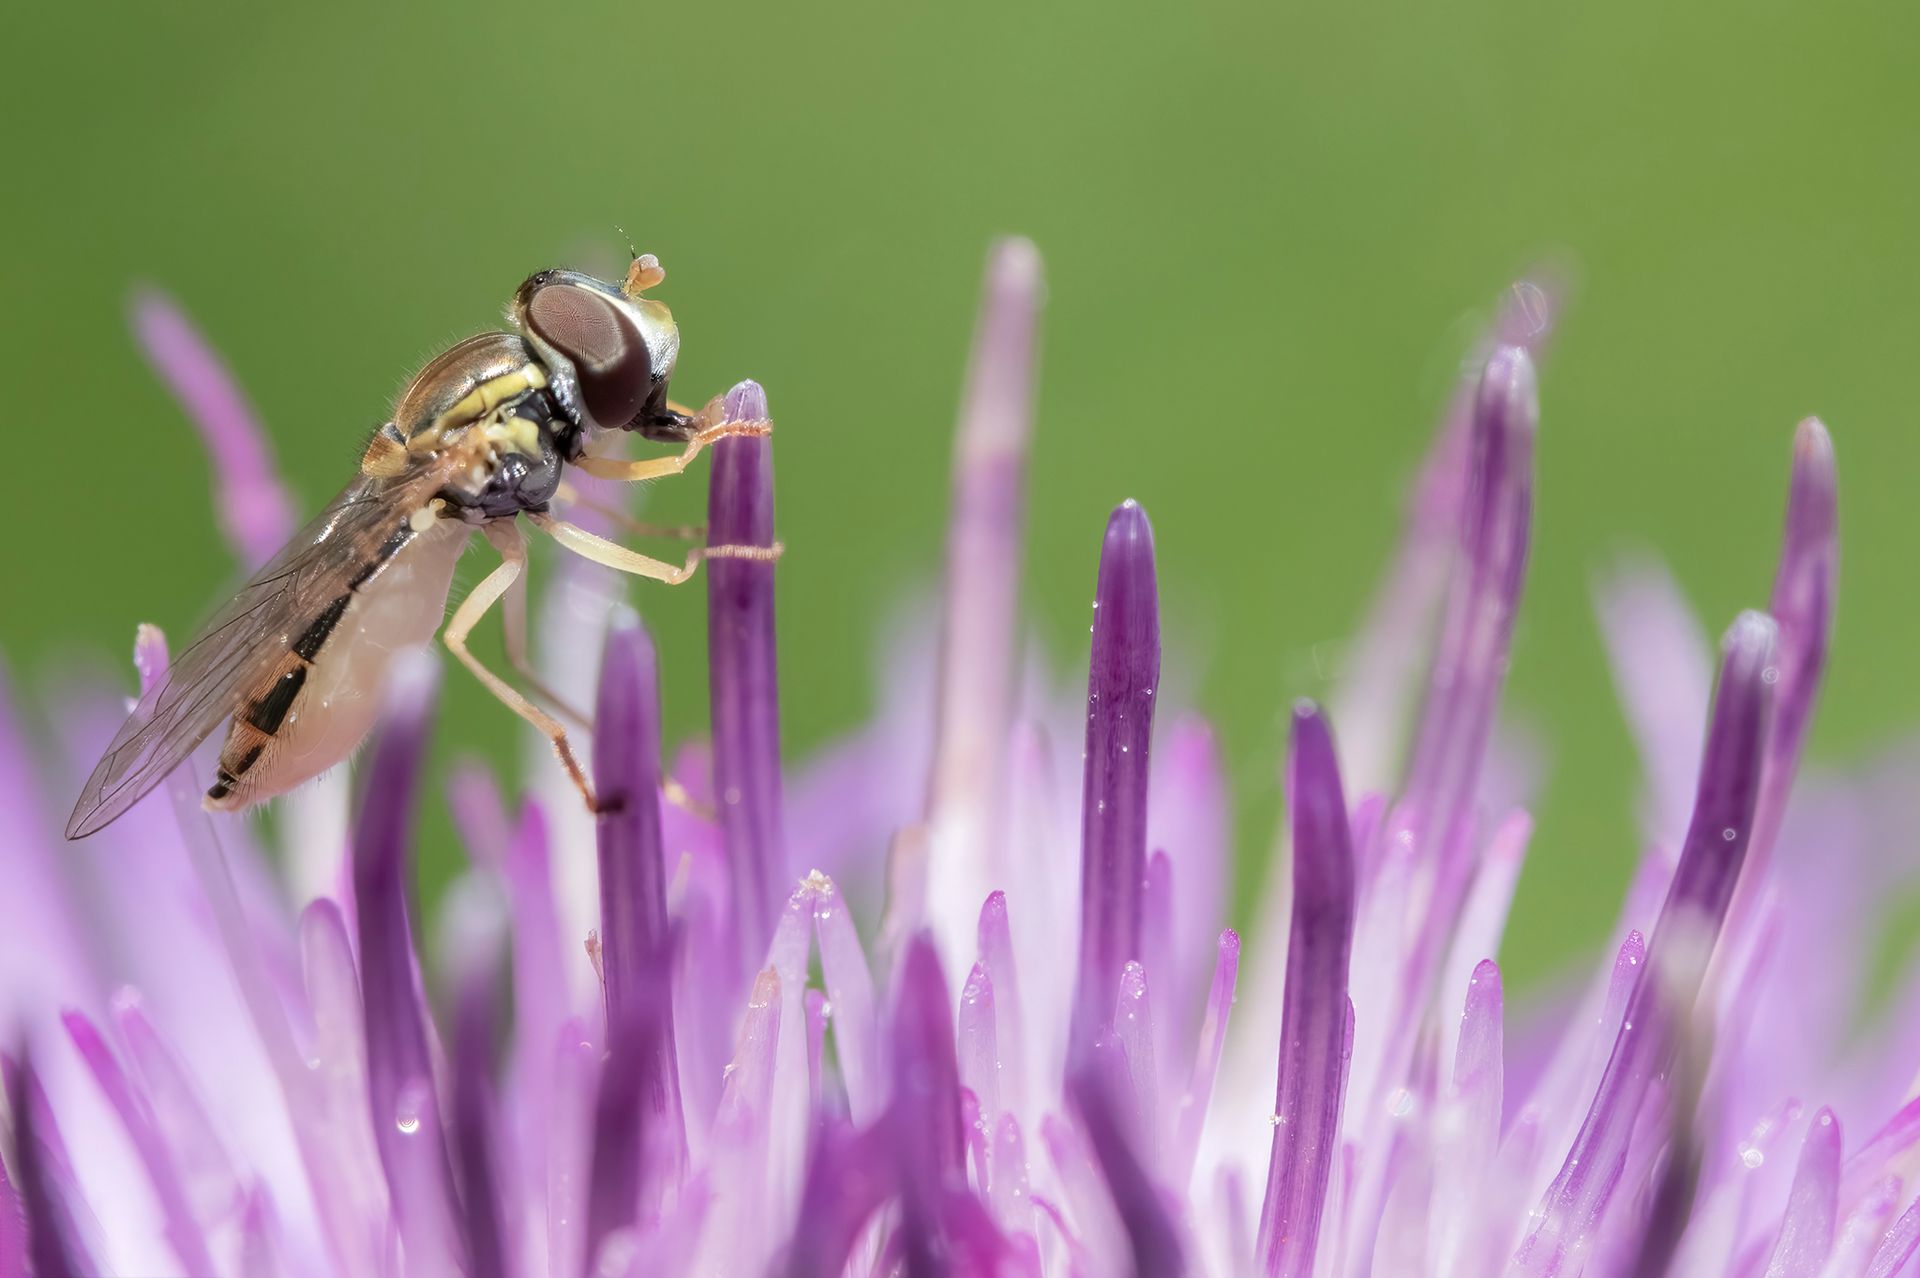
To succeed in macro photography, you need a sharp subject. This seems obvious on paper, but in practice, it’s a very challenging point. When you photograph your subject up close, even the slightest blur is immediately noticeable, leaving no room for error. Ironically, the closer you get to your subject, the more likely your photo will be blurry. Precision is therefore essential in macro photography. First, check the minimum focusing distance inherent to the lens. If you get too close to your subject beyond what the lens can handle, it will blur your subject and ruin your photo! Each lens has its own characteristics, and this information is found directly on the lens. Therefore, you must pay attention to the focusing done by the camera. Macro photography is not done hastily. Concentration is very important. Also, make sure to check the position of the focus point before taking the shot. And if you don’t like it? Switch to manual focus mode and be absolutely precise! After shooting, ensure the subject is in sharp focus without hesitation. In fact, when taking close-ups, cameras often struggle to analyze the focus areas. To overcome this, don’t panic! You can use manual focus. In this case, you define the area you want to focus on. Keep in mind that manual focus is the best way to achieve precise focusing.
Consider Depth of Field for Successful Macro Photography
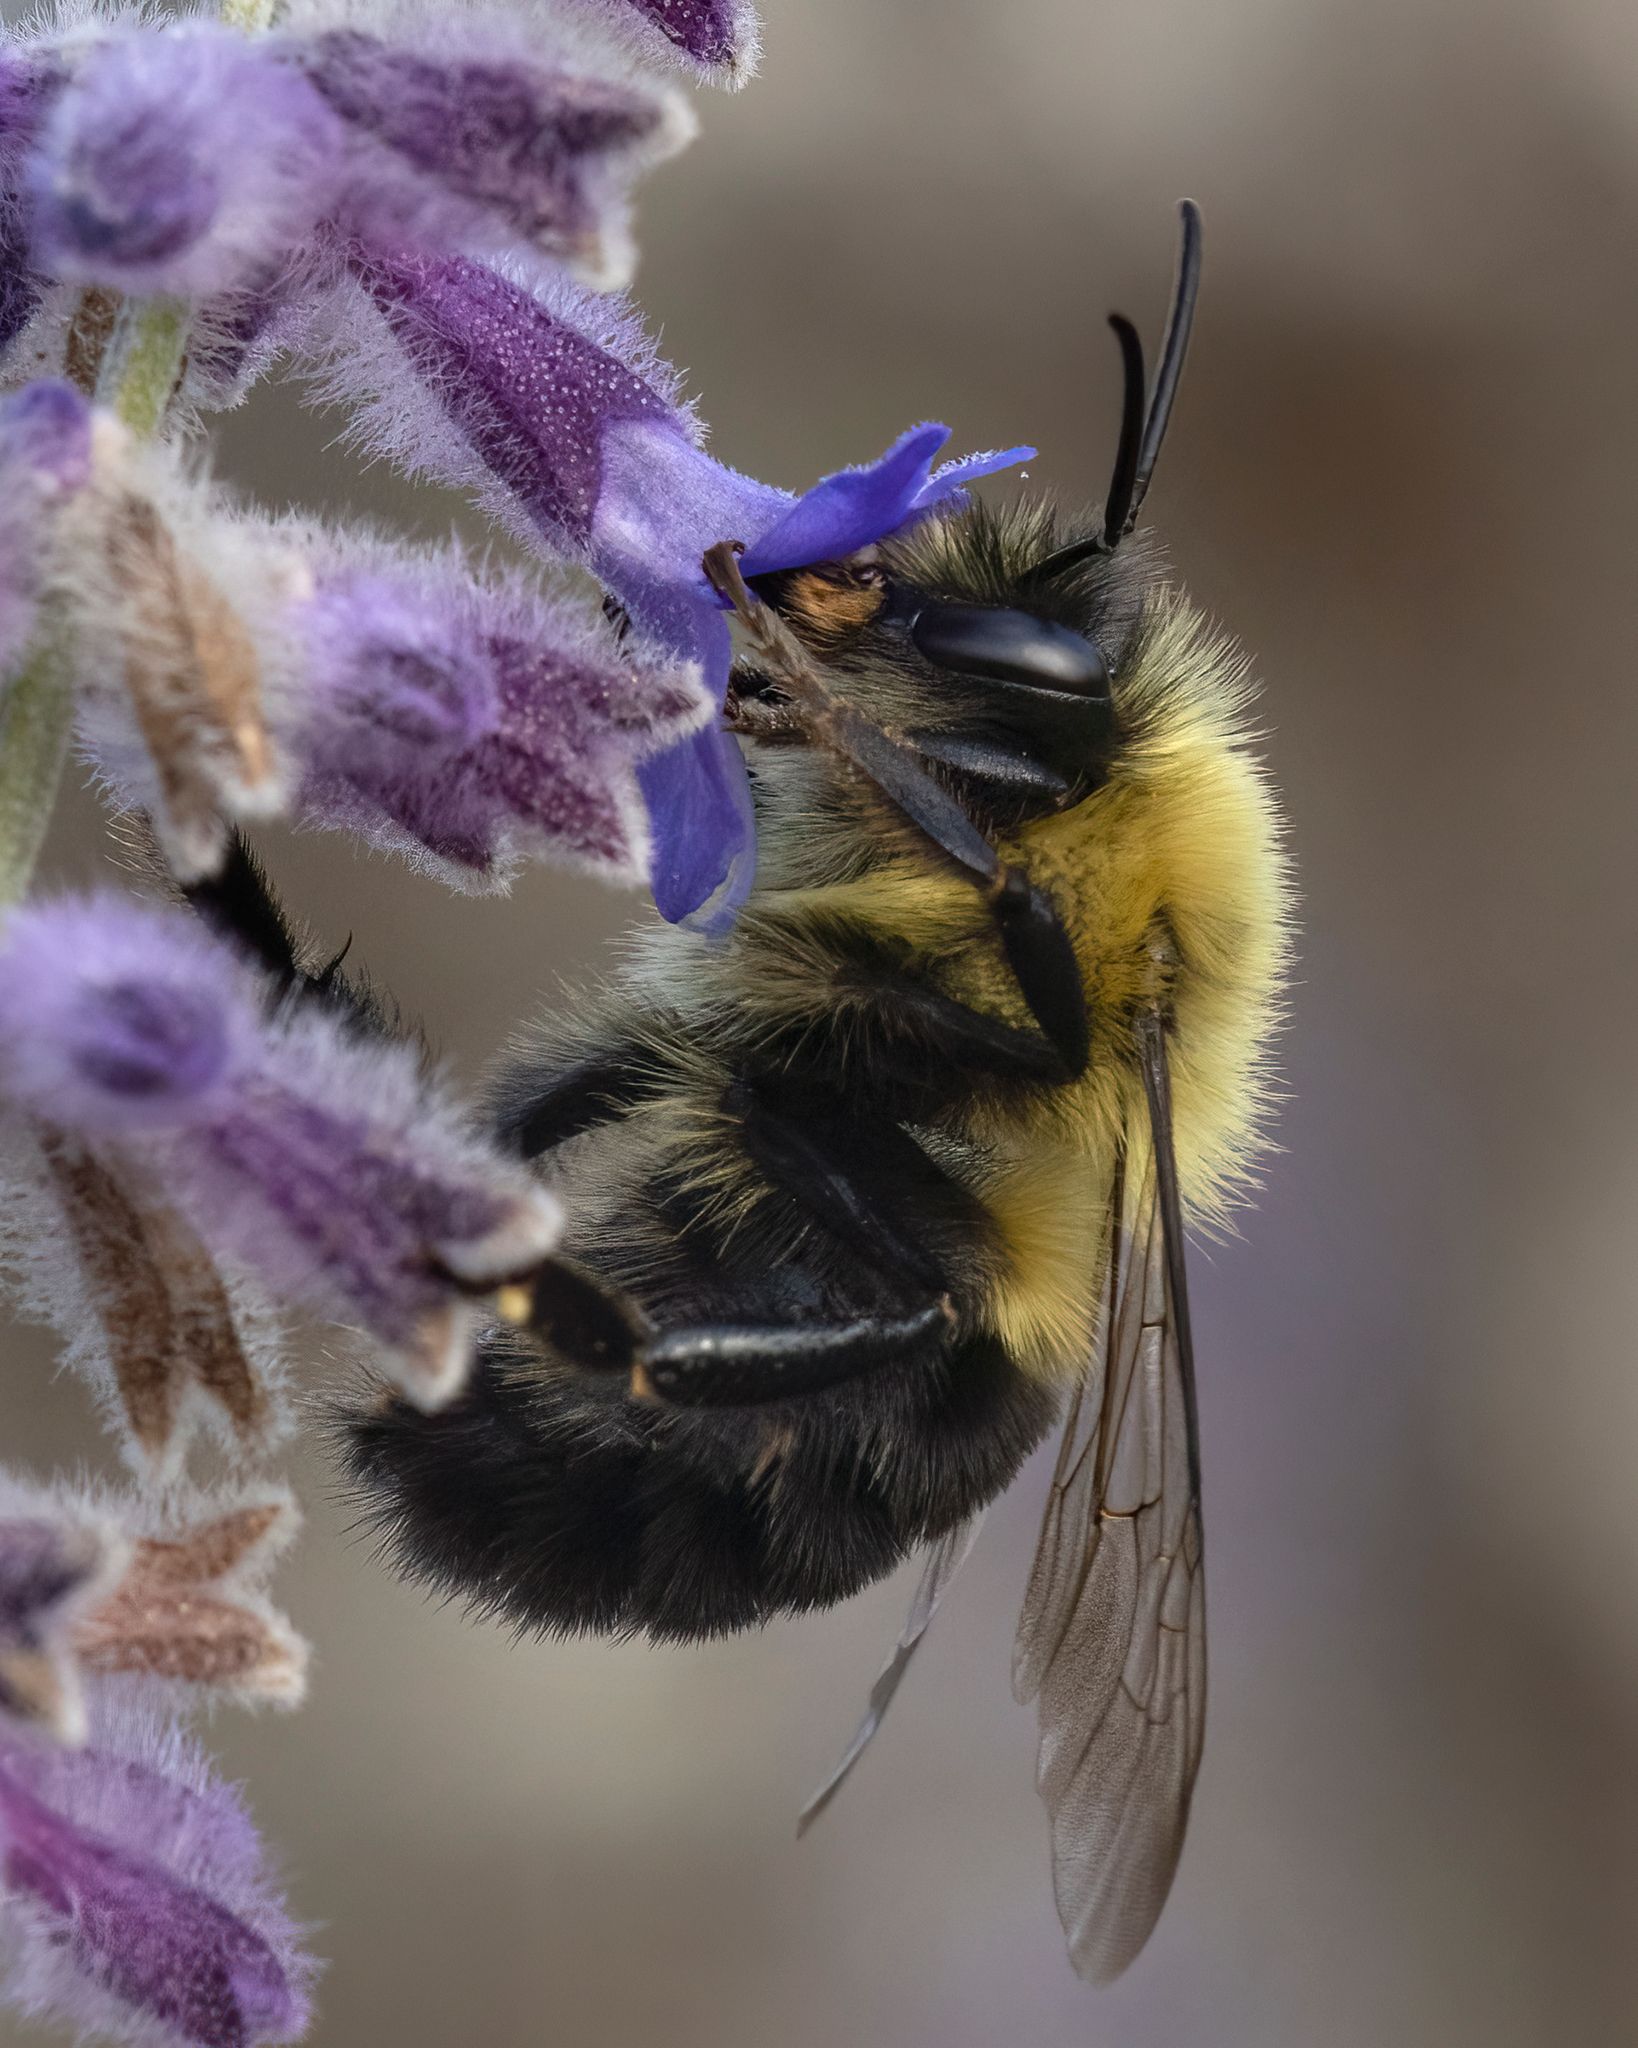
It is important not only to focus on the subject but also to pay attention to the depth of field. How much sharpness do you want for your subject? How about very noticeable blur? Do you prefer to show all the details of your subject? This is where you play between small and large apertures to highlight your creative palette and the way you photograph your subject! Make the subject stand out by blurring it. Ensure the entire subject is very clear, unless that’s intentional! For this reason, most macro lenses have large apertures. These lenses give you the freedom to choose how you want to manage depth of field. Don’t hesitate to experiment with different settings, be creative!
Play with Light and Framing for Original Macro Photos
Sharpness is essential to show your subject in the best light possible. But macro photography is not just about showing a subject up close. Photography, in general, is a creative process. Once the technique is mastered, you can move beyond it. This is the time to develop your photographic eye because you no longer have to focus on the setting but on composition and framing. This is how light becomes an integral element.
Get on the Subject’s Level
For my part, I find that getting on the subject’s level is important if you want to create a sense of intimacy with the subject.
On such a small scale, even a slight change in viewing angle can ruin a shot. So say goodbye to overhead shots, which tend to completely overwhelm your subject and create cluttered and overly realistic backgrounds. The same goes for low-angle shots, although they can give an impression of "power" to certain animals in some situations, they generally won’t highlight your subject. So, you’ll have no choice but to do some acrobatics and get as close to the ground as possible.
To Summarize
You now know how to prepare for a macro photography session. By the way, macro photography is a close-up of a subject. It requires specific photographic equipment. Once you have the right camera and lenses, the adventure begins.
Focusing, depth of field, and aperture selection are important technical points in macro photography. But technology isn’t everything! Additionally, you need to unleash your creativity. Composition, framing, and light should accompany your thoughts. Don’t just focus on the subject; tell the story with images that match the situation. Experiment, imagine, and most importantly, have fun!
