Financement disponible par flexiti - 6 mois à 0% d'intérêt.

Lord Photo Inc.
Lord Photo Inc.

THE PERSEIDS AND ASTROPHOTOGRAPHY

Eddie Pelletier • 9 août 2022
Un jeune homme portant des lunettes et une chemise noire regarde la caméra.

EDDIE PELLETIER
SALES AND CUSTOMER SERVICE ADVISOR
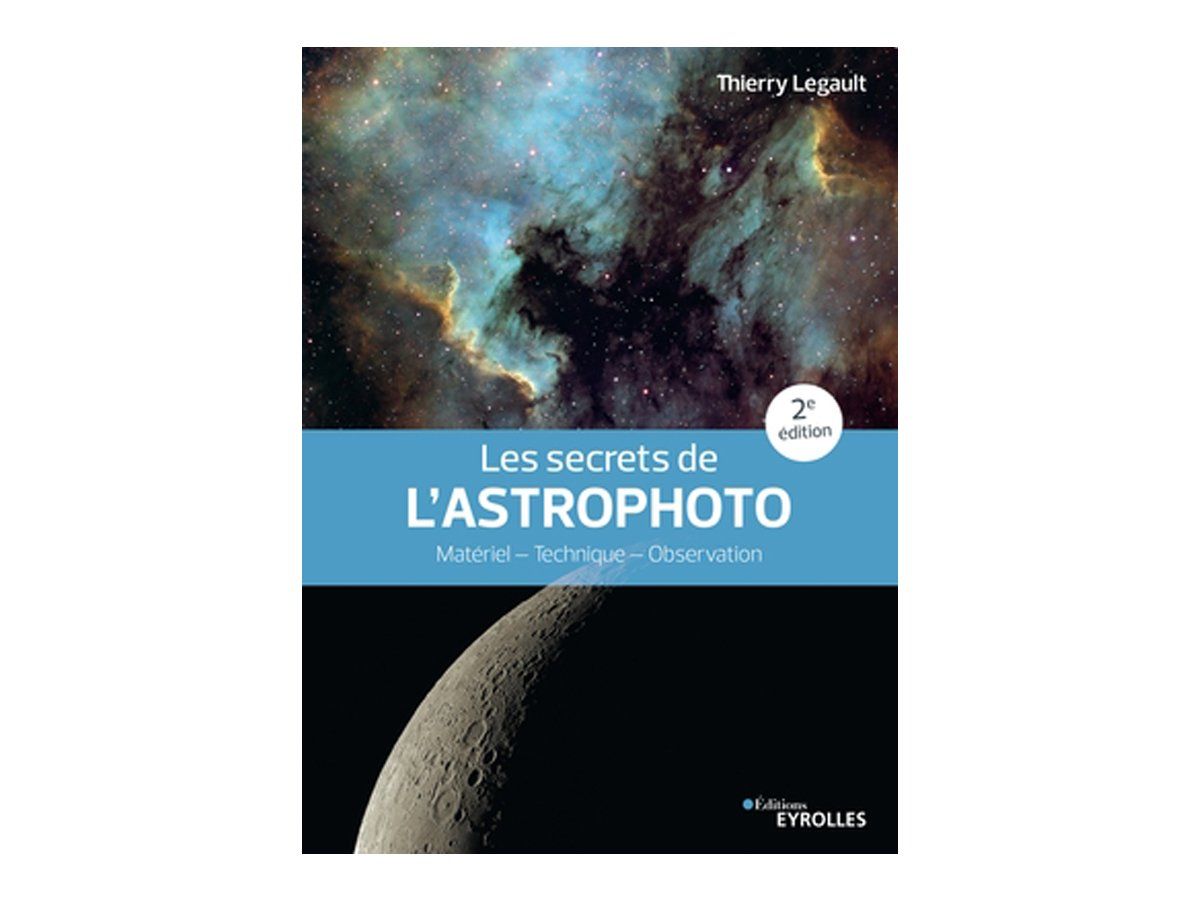
Un livre intitulé les secrets de l'astrophoto

Les secrets de l’astrophoto 2e édition
Book

Une paire de lunettes et un flacon pulvérisateur sont posés l'un à côté de l'autre sur une surface blanche.

Zeiss Vaporisateur Anti Buée
Lenses

August is the best time of the year to observe the Perseids. For all astronomy enthusiasts, it’s time to take out your camera and capture this magical moment. Here are 5 tips to help you during your photo session.


1. Have a Tripod

A tripod is essential to take clear and precise photos of the night sky. To capture as much light as possible, we will use long exposure, which requires maximum stability.


2. Choice of Lens

A wide-angle lens is usually used (<24mm). That said, it is still possible to photograph the stars with a more regular lens. The important thing is to have a large aperture. The aperture is the letter "F" marked on the side of the lens. The smaller this number, the more light the sensor will receive, which is important for capturing the stars. Therefore, prioritize a lens with a minimum aperture of f2 or smaller.


3. Location

Once your equipment is ready, you need to find a location to take your shots. To see as many stars as possible, find a spot far from the city. The city lights reflecting in the dark sky reduce contrast and are undesirable for taking beautiful photos. This is called light pollution. For a light pollution map, you can visit this website: Light Pollution Map.

Also, prepare mosquito repellent in advance to have a good time!


4. Camera Settings

Once on location, adjust the composition to your liking and turn off all lights around you. Set your camera to Manual (M) mode and adjust your lens to the largest aperture. Set the shutter speed between 5 and 30 seconds. If you leave the sensor open for too long, the Earth's rotational movement will make the stars less precise, appearing as lines instead of points. A good rule is the 500 rule. Divide 500 by your focal length. For example, if you are photographing with a 20mm lens, divide 500/20, which gives you 25 seconds. This number is the optimal shutter speed relative to the stars. Finally, set your ISO to the lowest setting. If the images are too dark, increase your ISO. This can also help you see the stars better, but in my experience, it can also gradually increase light pollution. Experimenting is a good option to see what works best. Be careful not to overdo the ISO to avoid noise.


5. Editing Your Photos

Finally, once your memory card is full, it’s time to edit the photos. You can adjust the blue/red balance and your white balance so that the black of the sky is neutral. Although this is my advice, editing an image remains personal. Make sure to bring out the stars and have fun.


Note that this year, the best night to observe the Perseids will be from August 12 to 13, 2022. Practice is the best way to improve, so grab your cameras and good luck!
Un gros plan d'une mouche sur une fleur violette.
par Cloé Pelletier-Bossé 18 juillet 2023
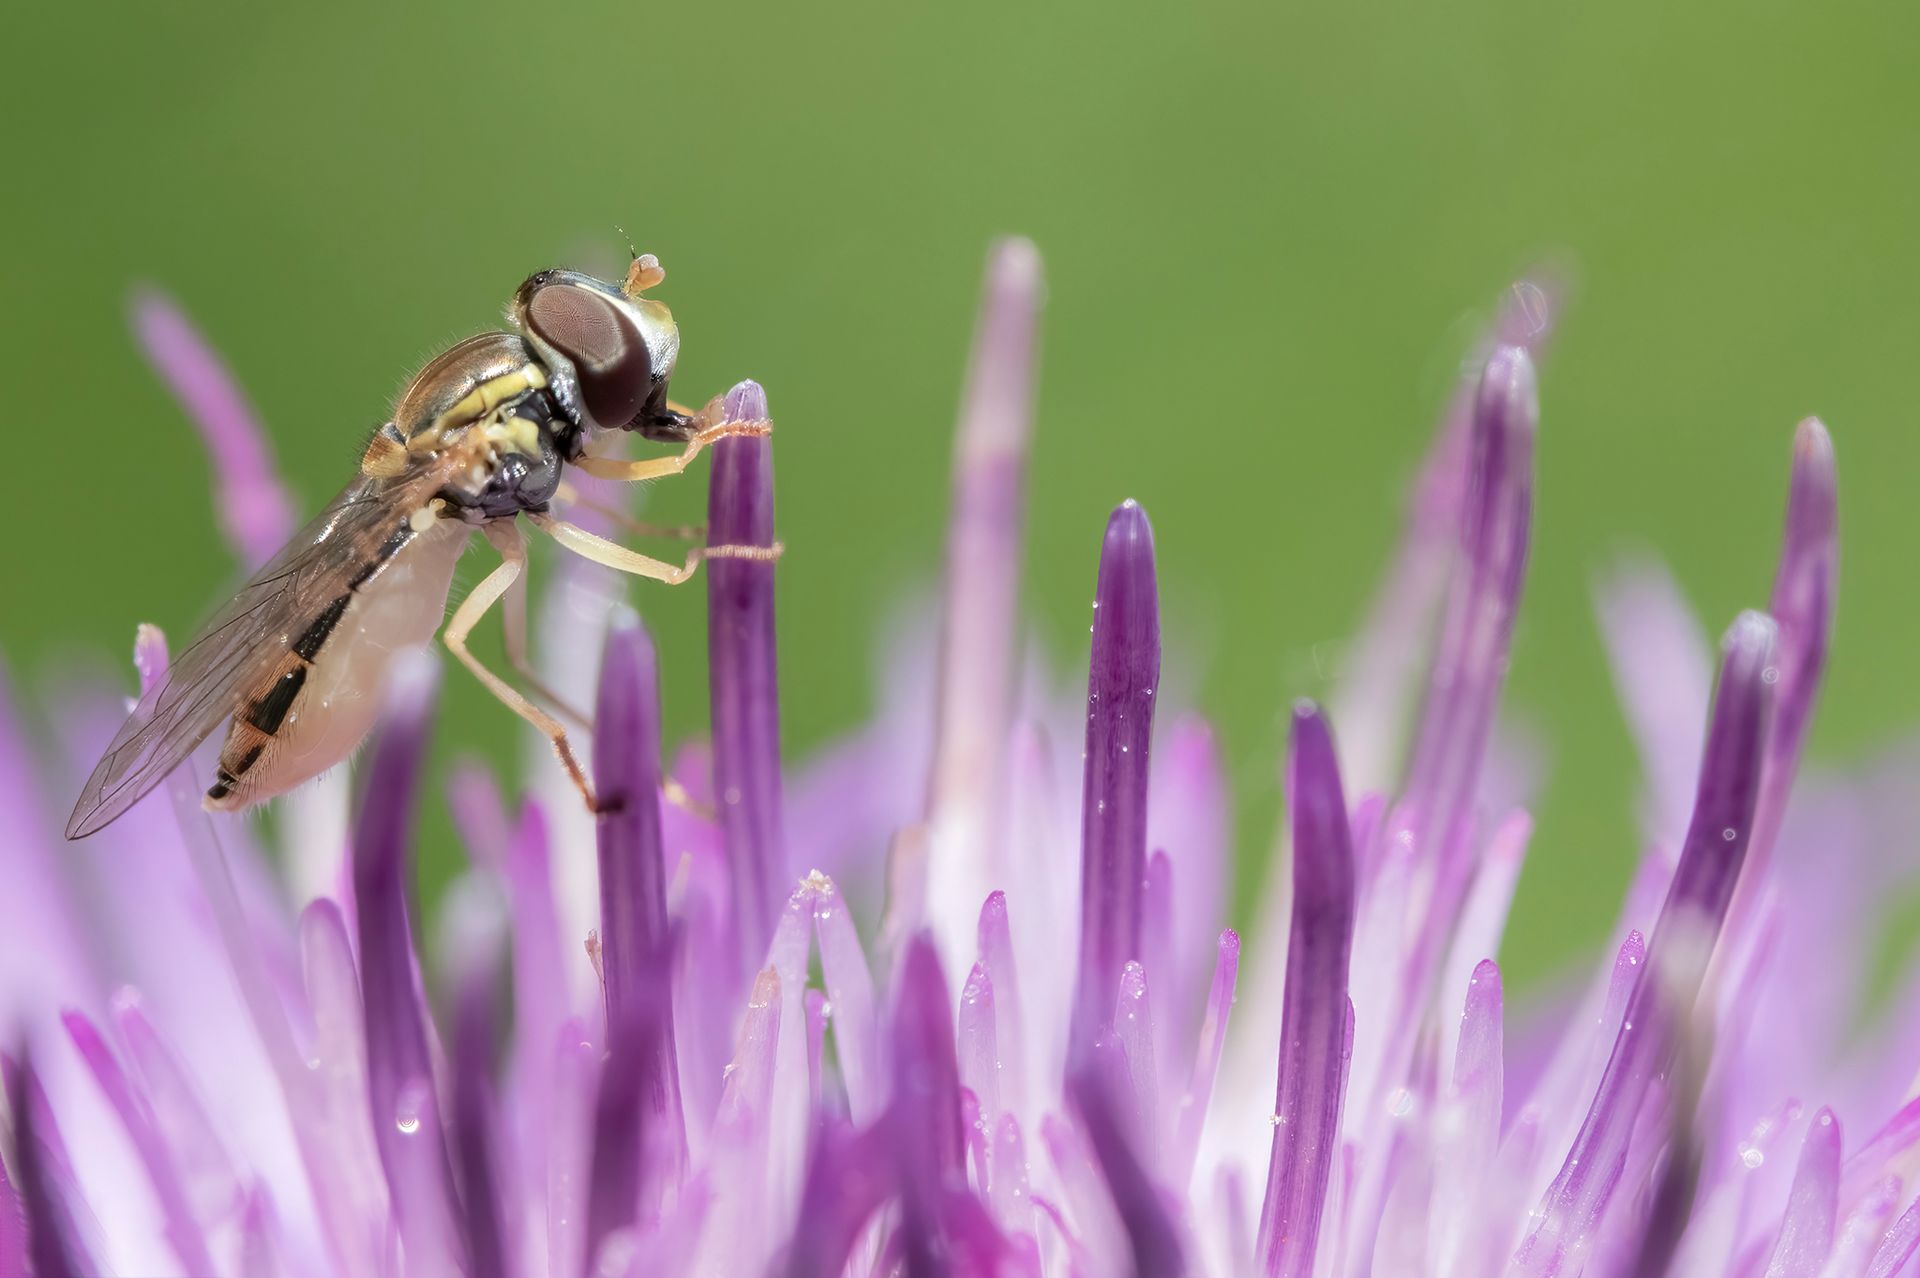
Proper Preparation for a Macro Photography Session Macro photography is not a very complicated field, as a simple garden can provide hours of enjoyment. However, it requires patience, skill, and creativity. If you want to improve and respect nature, it is important to prepare well in advance. We operate in a wild and sensitive environment, in contact with fragile and skittish animals. Therefore, being careful is very important if you want to approach this with the passion it deserves. Here are some tips from my personal experience and advice I’ve received to maximize the chances of returning with a calm mind and, most importantly, allowing you to capture images that meet your expectations!
Un gros plan d'une tête d'aigle avec un arrière-plan flou.
par Yves Pinsonneault 9 mai 2023
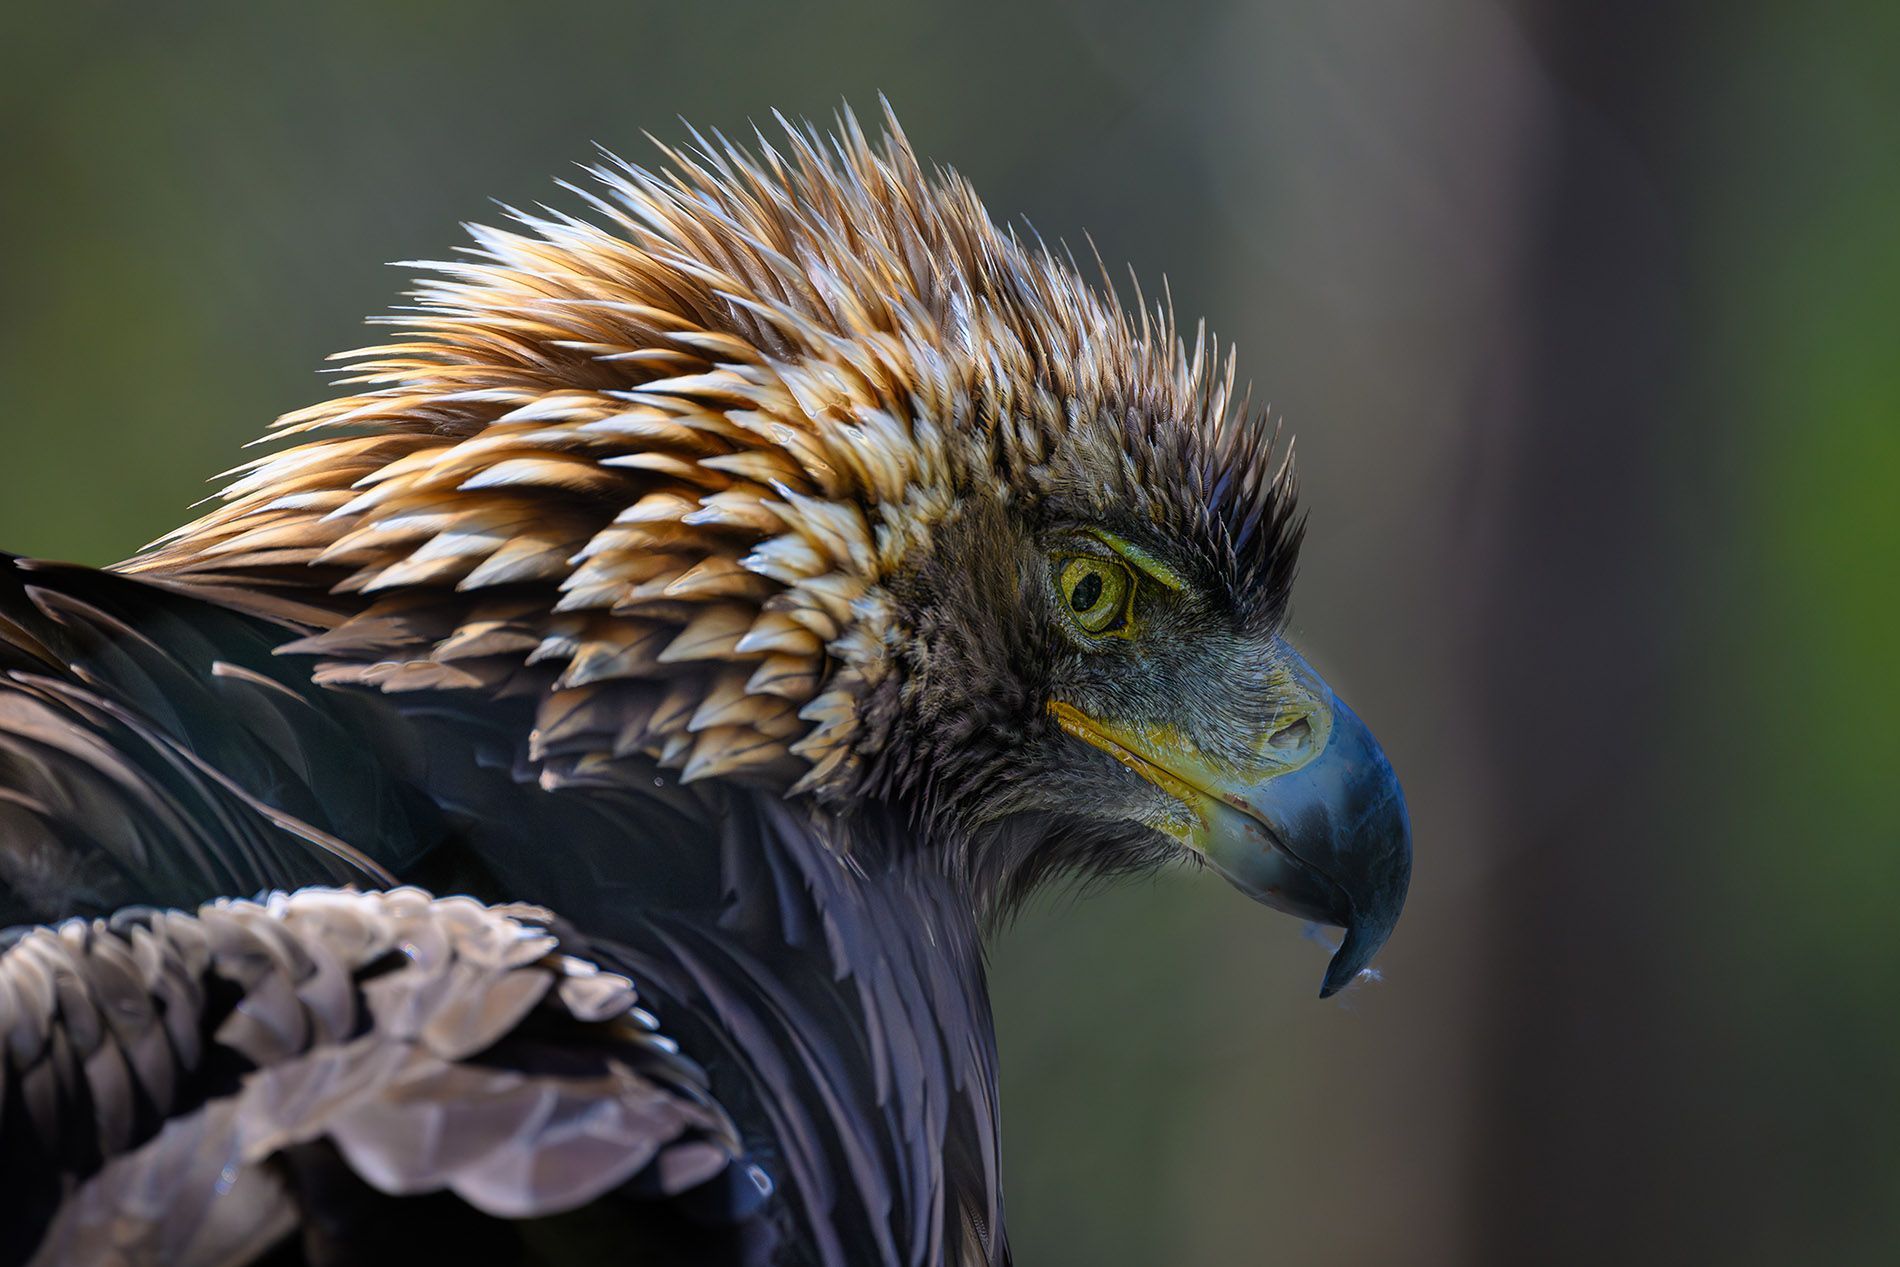
Nikkor Z 100-400 f/4.5-5.6 VR S We tested for you: Nikkor Z 100-400 f/4.5-5.6 VR S This lens is designed for users of Nikon Z series mirrorless cameras. It is compatible with all Z series models, including both APS-C and full-frame (FF) bodies. As the model name indicates, its coverage ranges from 100mm to 400mm (150mm to 600mm equivalent on APS-C) and features a variable aperture depending on the zoom ring position. At 100mm, the maximum aperture is f/4.5, and at 400mm, it is f/5.6, which is more than acceptable for general outdoor photography. It’s also important to note that Z series cameras have excellent high ISO performance, which means this lens can be used in a wide variety of situations without limitation. The box includes lens caps and a lens hood, which should always be equipped. You will see this lens in the hands of various sports photographers and wildlife photographers seeking detail and precision in their images, but at relatively short distances. 400mm is a bit limited for bird photography unless you are close to the subject. Weight: Right off the bat, the lightness of the lens is striking, and it balances well on cameras like the Z9 or even a Z6/Z6II. The balance is a bit more challenging with a Z30/50, but it’s still manageable with some practice and familiarity. Autofocus: Fast—very fast, in fact—and consistently accurate. Even in the shade, the subject is focused with spectacular speed. The speed easily compares to that of the Nikkor Z 70-200 f2.8 VR S. Regardless of the camera body used, it performs flawlessly and is highly effective. It is definitely worthy of the S series lenses (Nikon’s professional series for Z bodies).
Une silhouette d'une femme tenant un appareil photo sur un trépied au coucher du soleil.
par LORD PHOTO 19 juillet 2022
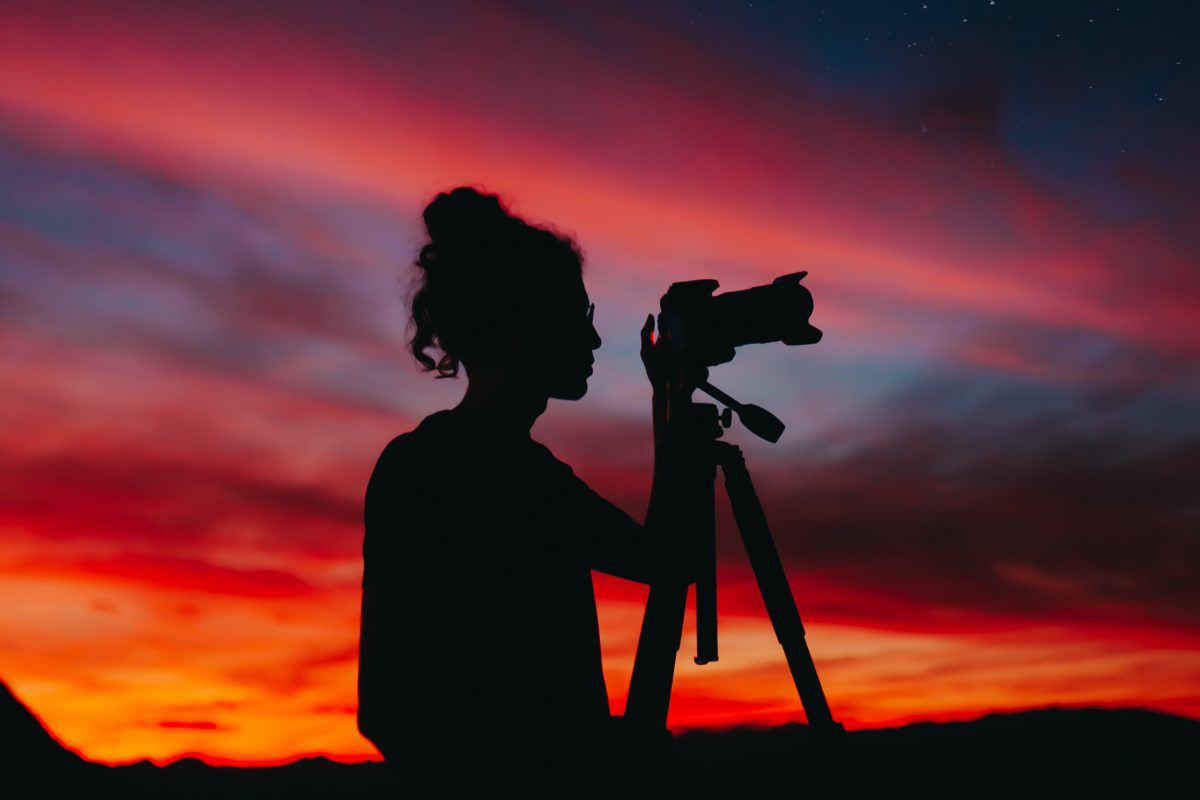
The Photographer's Best Friend The tripod is the only sure way to ensure image stabilization. Sometimes it's disliked because it's cumbersome and can seem heavy, but the tripod remains the only reliable method to ensure image stabilization and, implicitly, the sharpness of your photo. There are tripods for all types of cameras, made from various materials. They adapt to all cameras, and often, powerful lenses come with a collar that allows the lens to be mounted on the tripod head. How to Choose a Tripod First, assess your equipment and the type of photography you want to do.  It's essential to determine: A) Is it too heavy for me to bring along? B) Is it robust and stable enough to support my equipment and ensure its safety? Many lenses have a stabilization system, and some camera bodies do as well. However, it's important to understand that neither is as effective as a tripod. Another important detail to consider is the height of the tripod and the type of head it comes with. Ball heads are quick to adjust and very sturdy. They are excellent for general photography and easy to use. However, they are not recommended for videography unless you don't need to move the camera (fixed camera for the entire shot). For video, a head with a panning arm (allowing left-to-right and right-to-left movement) is highly recommended. In most cases, this head is also suitable for general photography if it can quickly switch to a vertical position. Materials Avoid plastic tripods as they are fragile and can easily break in the cold. Aluminum is quite suitable and relatively lightweight. The ultimate choice is carbon, which is very light and unaffected by heat or cold. It also has better vibration tolerance. However, it is more expensive. A monopod is an interesting solution for supporting the weight of your equipment, but it doesn't replace the tripod and doesn't have its stabilization benefits. It can be handy, though, as it relieves the photographer of the concern about the weight. For stabilized lenses and camera bodies, manufacturers recommend deactivating these systems when using a tripod. Since the tripod itself acts as a stabilizer, the two systems can conflict, resulting in blurred images due to double stabilization.
VIEW MORE
Share by: